EMBROIDERY DIGITIZING & VECTOR ART
Your design.
Exceptional
in every stitch.
Embroidery digitizing for brands, decorators and businesses that care about the finished stitch. From a chest logo to a statement jacket back, start with a file planned for your fabric, placement and finish.
✓ Logo & specialty digitizing
✓ Machine format planning
✓ Artwork-specific quotes
✳
FROM PIXELS TO THREADSmall details. A big difference.
DESIGNED TO STAND OUT. DIGITIZED WITH PURPOSE.
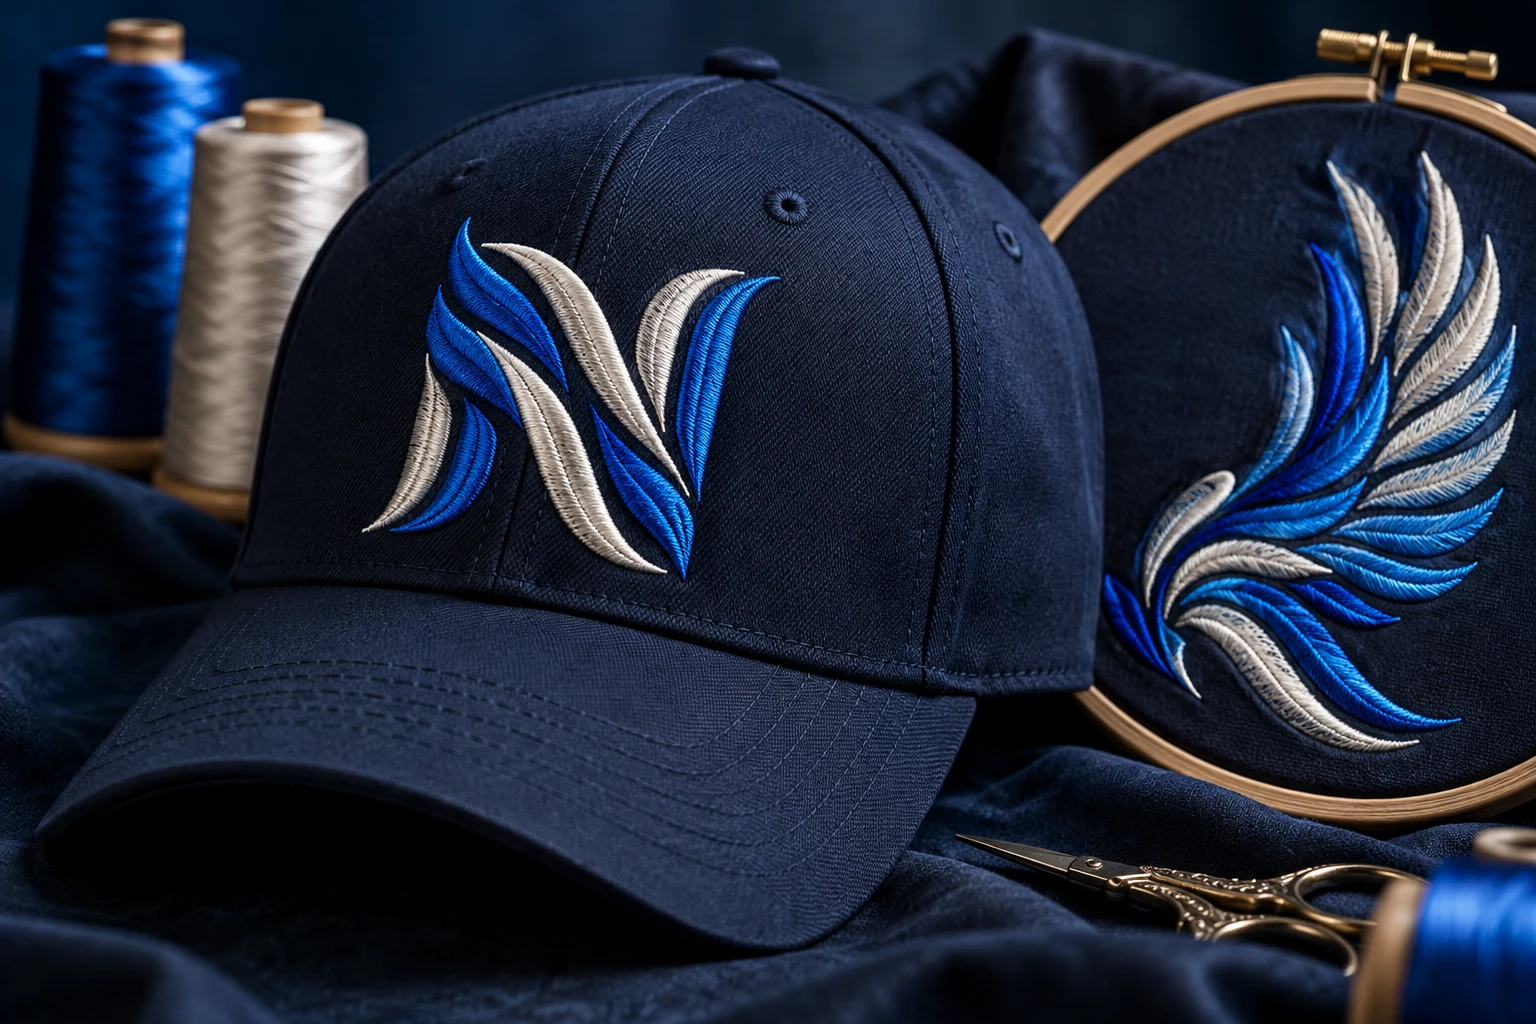
Illustrative embroidery concept
YOUR ARTWORK. YOUR APPLICATION.
CAPS
✳
LEFT CHEST
✳
JACKETS
✳
PATCHES
✳
TEAMWEAR
01 / WHAT WE DO
A little artwork.
A lot of possibilities.
From a clean chest logo to a statement jacket back, start with the service that fits your next project.
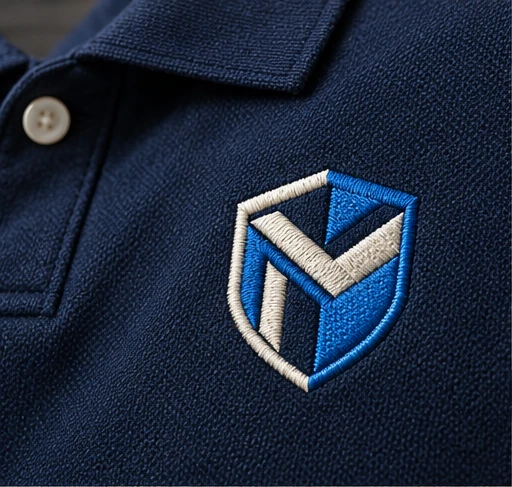
01 ↗
Embroidery digitizing
Thoughtful stitch paths, balanced fills and clear outlines for logos and custom artwork.
Logos · Left chest · Jacket backs
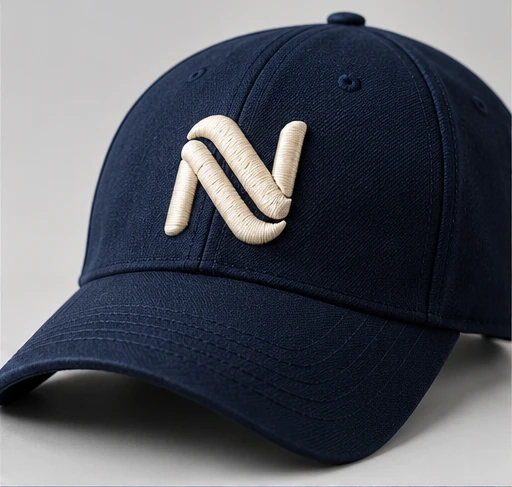
02 ↗
Cap & 3D puff digitizing
Design planning for curved cap surfaces and raised embroidery that makes a statement.
Caps · Headwear · Raised lettering
03 ↗
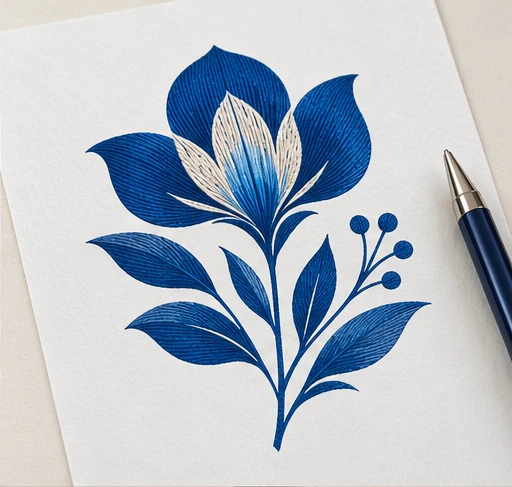
Vector artwork
Turn raster logos and rough ideas into crisp artwork for print, merchandise and branding.
Logo redraw · Scalable artwork
04 ↗
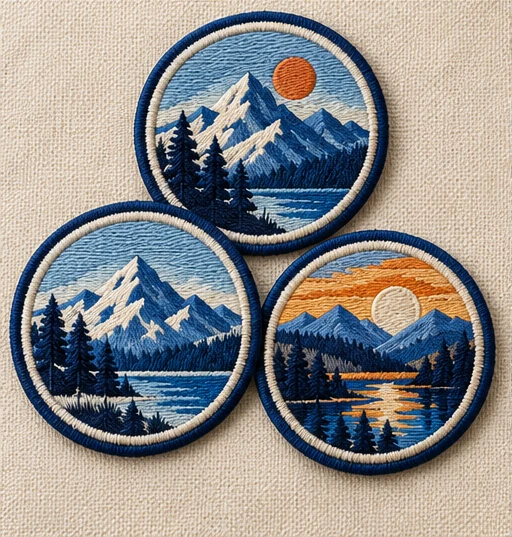
Patch & appliqué files
Artwork preparation with shapes, borders and layers considered from the beginning.
Patch designs · Appliqué
05 ↗
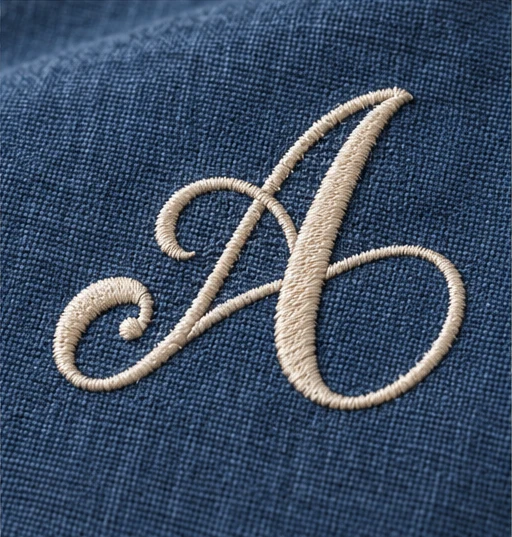
Small lettering & monograms
Lettering planned around its finished size, with attention to spacing, stroke thickness and stitch direction.
Initials · Names · Fine lettering
06 ↗
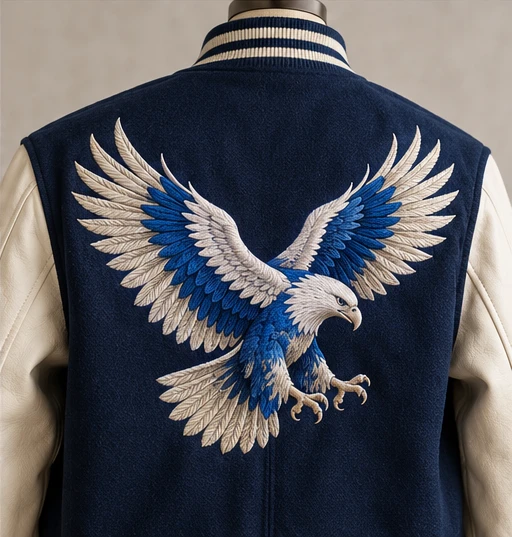
Jacket backs & bold artwork
Larger designs with deliberate fill angles, balanced coverage and a considered sewing sequence.
Outerwear · Mascots · Statement designs
Service images are illustrative embroidery and artwork concepts.
OUR PORTFOLIO / ARTWORK & EMBROIDERY
From artwork.
To something worth wearing.
Explore digitizing, vector artwork and patch concepts. Open an image for a closer look, or browse the full portfolio.
Corporate chest emblem
Logo & left-chest digitizing
Raised cap monogram
Cap & 3D puff digitizing
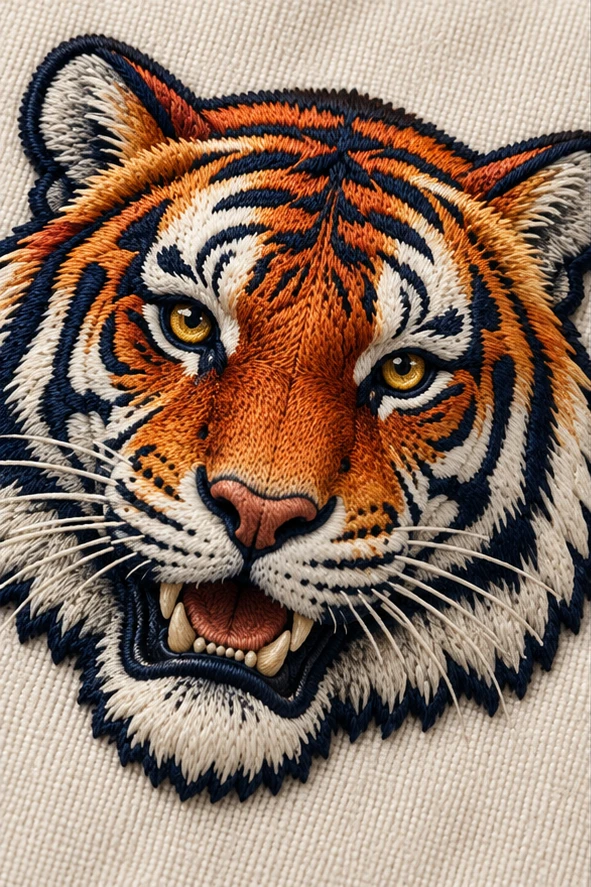
Detailed tiger mascot
Custom embroidery digitizing
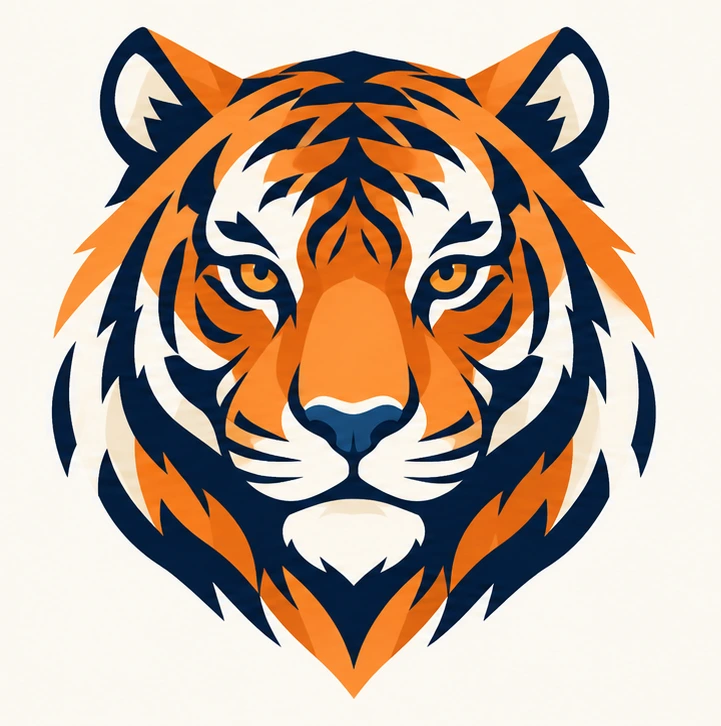
Geometric tiger badge
Vector artwork concept
Mountain patch collection
Embroidered patch concepts
Statement eagle artwork
Jacket-back digitizing
Illustrative artwork concepts, created to show embroidery and graphic styles. These are not customer projects or actual production sew-outs.
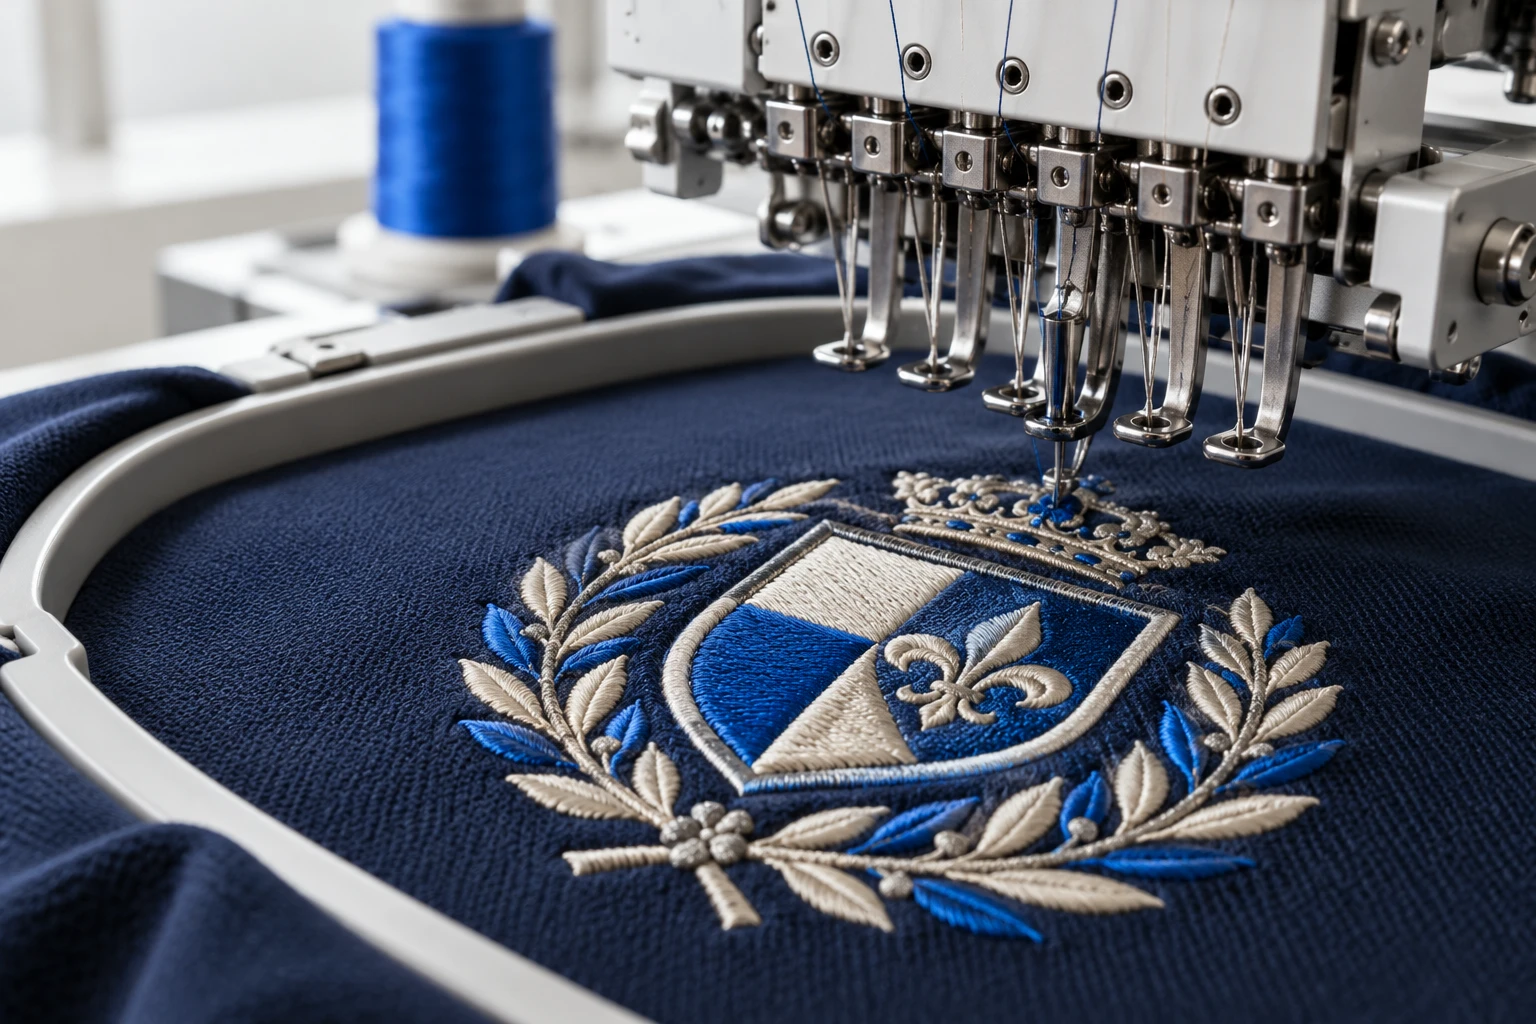
THE ART BEHIND THE STITCH
Good embroidery starts
before the needle moves.
Illustrative production scene
BUILT AROUND THE WAY YOU STITCH
It’s more than a file.
It’s the finer details.
Fabric, size and placement all change the way a design should be digitized. That’s why the right project starts with the right questions.
01
The right foundation
Share your fabric and garment so underlay and density can be planned for the application.
02
Details that translate
Fine lines and small text need careful decisions. We’ll help define a practical size and finish.
03
Your format, considered
Tell us your machine and required format when you request your project.
THE DETAILS BEHIND A BETTER FILE
A good stitch-out
starts with a plan.
A design that looks perfect on screen still has to work with real thread and real fabric. These are the decisions that make a difference.
01 / FABRIC
Density with purpose.
Lightweight knits and sturdy canvas behave differently. Stitch coverage needs to suit the material so the design feels balanced instead of stiff or thin.
02 / FOUNDATION
Support from underneath.
Underlay helps stabilize the design and supports the top stitching. It matters especially on textured fabrics where lettering can otherwise disappear.
03 / SEQUENCE
A smarter route.
The order of fills, outlines and color changes affects registration and efficiency. A considered sequence helps the elements work together.
04 / SCALE
Details at the right size.
Small text and narrow spaces have physical limits in thread. Adjusting artwork or increasing its size can protect the clarity of your logo.
MADE FOR THE WAY YOU WORK
One design partner.
So many applications.
Workwear, team kits or merchandise. Explore the details to consider for your next embroidery project.
A CONSISTENT FIRST IMPRESSION
Make every uniform feel like your brand.
From left-chest polos to jackets and aprons, plan your logo for the garment your team wears. Fabric texture, placement and finished size all help determine the right approach.
- Share the fabric type and garment style.
- Specify a finished size for each placement.
- Check small text before approving the design.
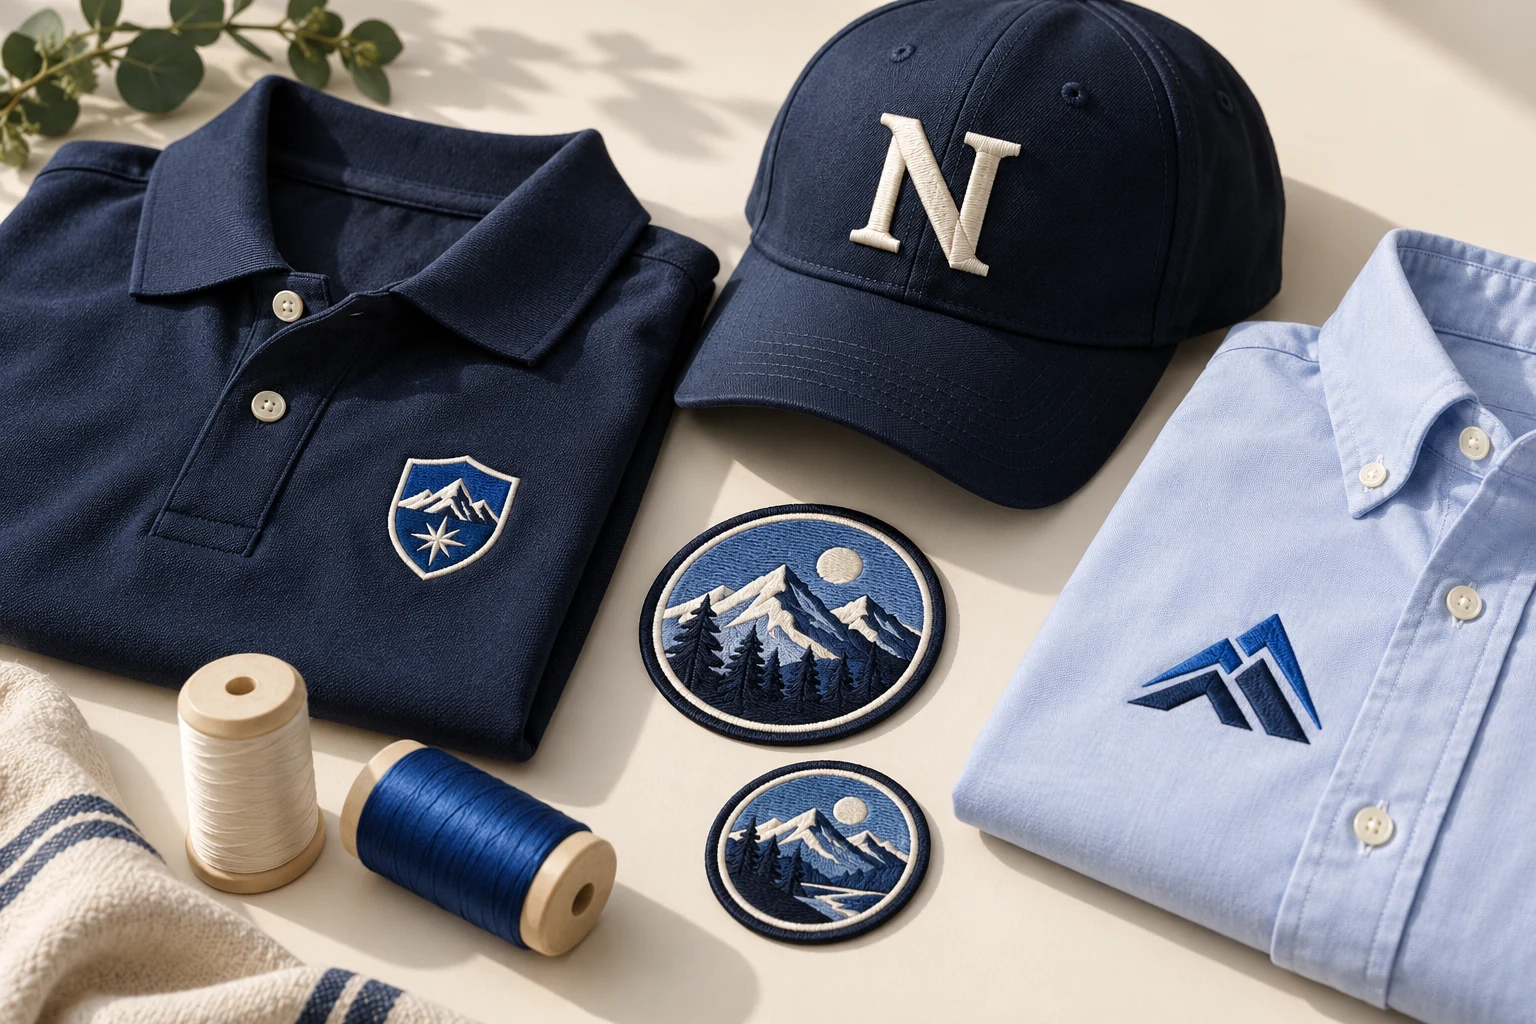
Illustrative merchandise concepts
A BRAND YOU CAN SEE. A TEXTURE YOU CAN FEEL.
From one logo.
To your whole collection.
A recognizable mark can take many forms. Explore chest embroidery, statement jacket backs, caps and patches, each planned around the way it will be worn.
CLEAR SCOPE. A CONSIDERED QUOTE.
Price the design.
Understand the details.
Embroidery projects aren’t all the same. Share your artwork and requirements so the cost and delivery can be confirmed for your specific design.
What shapes your project?
Artwork complexity
Fine lettering, intricate shapes and shading can require additional planning.
Size & application
A small cap front and a large jacket back need different stitch strategies.
Special techniques
Raised puff, appliqué and patch borders each have their own requirements.
Format & deadline
Include your machine format and required date so the scope can be agreed.
YOUR PROJECT, STEP BY STEP
Your idea to embroidery.
One clear process.
No guesswork at the start. Share the essentials so the scope, price and delivery can be discussed before work begins.
01
Share your artwork
Start with your logo or sketch. Include the finished size, garment and placement.
02
Confirm the details
Agree on the design requirements, file format, project price and turnaround.
03
Review your design
Check the preview and confirm any adjustments before using the final file.
04
Get ready to stitch
Run a sample on your chosen fabric before starting your production batch.
COMMON MACHINE FORMATS
DST
PES
EXP
JEF
VP3
Specify your required format with your artwork.
LET’S MAKE SOMETHING WORTH WEARING
Your next great
design starts
with a conversation.
Send your artwork and project requirements. Include the finished size, application and deadline so the request can be reviewed.
↗
Every artwork is different.
Pricing and delivery are confirmed after review.
A FEW THINGS TO KNOW
Good questions.
Clear answers.
What is embroidery digitizing?
Digitizing turns artwork into instructions an embroidery machine can follow, including stitch types, sequence, density and color changes. It is different from simply converting an image file.
What should I provide with my artwork?
Share your clearest artwork, final dimensions, fabric type, placement and required machine format. Include a deadline and any thread color preferences.
Can any logo be embroidered?
Most logos can be adapted, but very small lettering, gradients and fine lines may need simplification or a larger finished size. The artwork should be reviewed for its intended application.
How much does digitizing cost?
The price depends on the design detail, size and technique. Request your quote so ThreadNexa can review the requirements and confirm a quote before work begins. The finished size, specialty technique and deadline should all be included.
Should I test the file before production?
Yes. Always run a sample on the intended fabric with the appropriate stabilizer, thread and machine settings before stitching a full batch.
FROM YOUR FIRST IDEA TO THE FINAL DETAIL