
EMBROIDERY DIGITIZING
Made for the curve of a cap.
Plan cap embroidery around the structured surface, front seam and area your machine can actually reach.
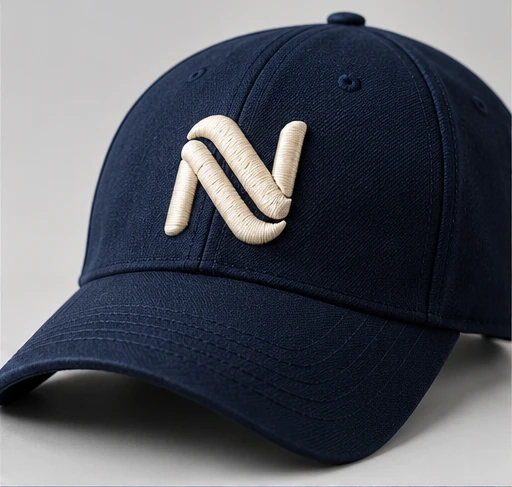
Illustrative design concept
A CONSIDERED APPROACH
Built around the way
you’ll use it.
A cap is not a flat panel. Construction, seams, framing and available sewing area all affect the stitch plan. Include the cap style and distinguish between front, side and back placements.
01
Cap construction
Share whether the cap is structured, unstructured or another style.
02
Sewing area
Confirm the usable dimensions for your cap frame and machine.
03
Center seam
Identify a front seam or other raised features that the design must cross.
BEFORE YOU START
A clearer brief.
A better starting point.
Use your clearest source artwork. Include the finished size, application and required date. Confirm price, deliverables and timing before placing an order.
✓ Source artwork
✓ Finished dimensions
✓ Fabric or material
✓ Required format
✓ Deadline & quantity
Illustrative service concept
CHOOSE BY APPLICATION
Where this service
makes a difference.
01
Front branding
Plan a logo around the usable front area and any central seam on the cap.
02
Side embroidery
Use a separate compact layout that suits the smaller placement and framing access.
03
Back text or mark
Specify the available area and the construction around the back opening or fastening.
KNOW YOUR OPTIONS
Small choices.
A different finished result.
These decisions help define the project before the artwork or production plan is approved.
Cap Digitizing: decisions to confirm
| Decision | What to specify | Why it matters |
|---|---|---|
| Structured or unstructured | Identify the cap model and construction. | Different front panels can behave differently while framed. |
| Front seam | Show whether a central seam crosses the design. | The raised seam is a physical feature the stitch plan must account for. |
| Frame and placement | Confirm usable dimensions with your production setup. | The apparent panel size is not necessarily the machine’s sewable area. |
ILLUSTRATIVE PROJECT BRIEF
Put the details into context.
A structured six-panel cap with an emblem across the front. Include a photo of the blank cap, usable sewing dimensions and whether the design crosses the center seam.
BEFORE YOU SAY YES
Review the details.
Then take the next step.
A screen preview is one part of approval. Check the details that matter to the actual application.
01
At actual size
Review lettering, counters and the balance of the design at the dimensions that will be stitched.
02
On the intended fabric
Run a sample using the chosen garment material, stabilizer, thread and machine setup.
03
Through the sewing sequence
Check registration, thread behavior and how the finished design sits on the material.
04
Before a full batch
Record any changes clearly and approve the revised sample before production.
ABOUT THIS SERVICE
Cap Digitizing
questions, answered.
More questions about your design? Include the specific application and your artwork when you prepare your brief.
Can the same file be used on a polo and a cap?
Not without reviewing both applications. A cap has different framing, curvature and construction from a flat garment.
Should I send a photo of the blank cap?
Yes. Front and side photos, plus the cap model or fabric details, can help explain its construction and intended placement.
What should I include with a change request?
Include the file or project reference, exact dimensions, a clear description and photos of any sew-out issue. Say whether the fabric, placement or machine setup has changed.
Is a digitizing request a finished garment order?
No. Digitizing prepares a digital embroidery file. Any physical garment, sewing or patch-production requirements should be specified and confirmed separately.
MORE TO EXPLORE
Find the right fit.
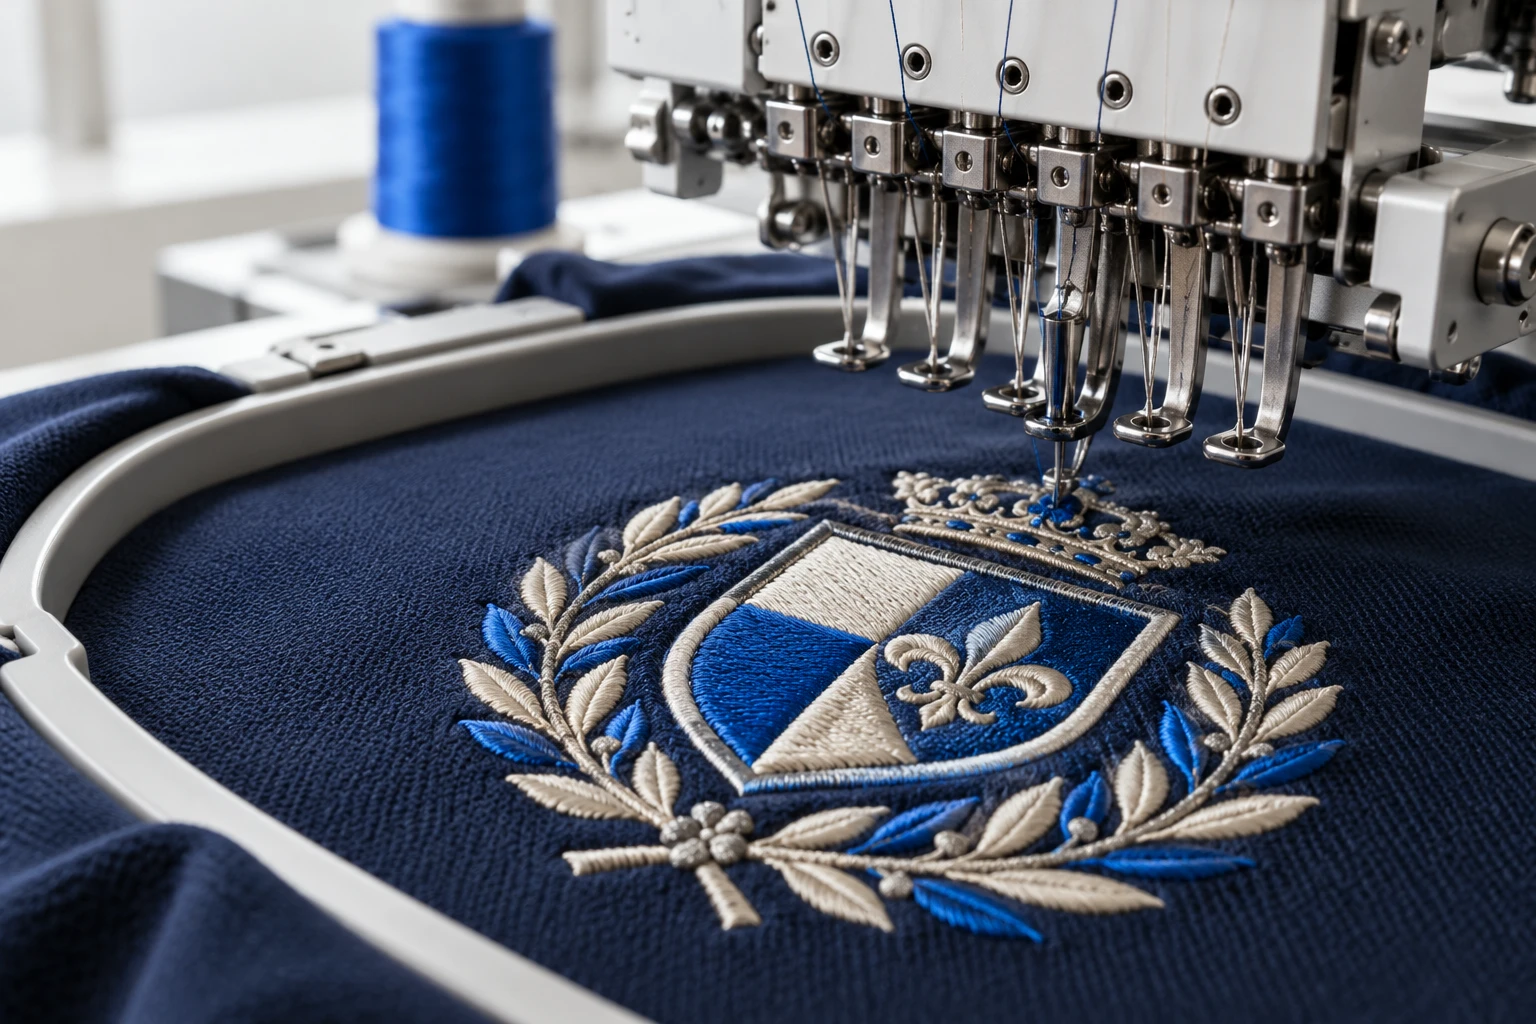
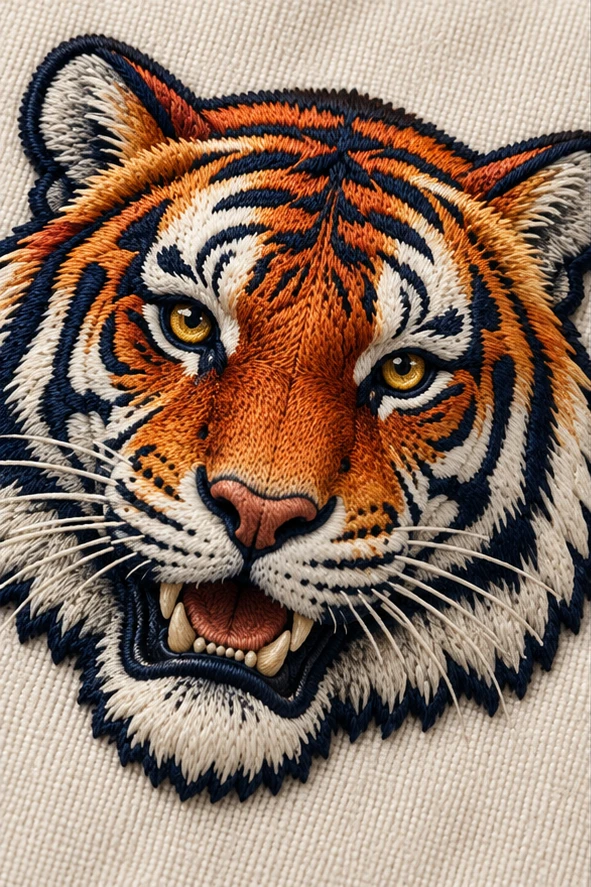
RELATED PORTFOLIO / EMBROIDERY & DESIGN
Explore the portfolio.
Explore artwork, texture and finish through illustrative design concepts.
Raised cap monogramCap & 3D puff digitizing
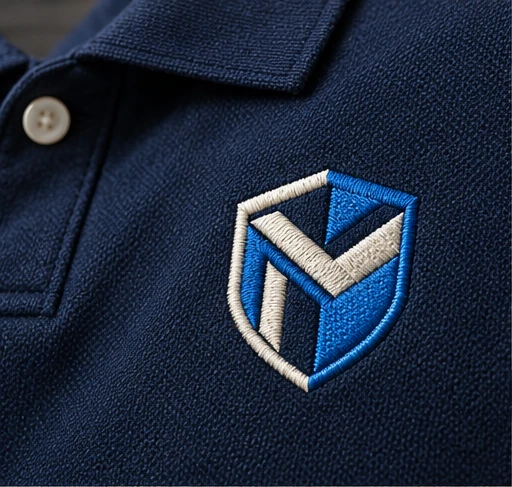
Corporate chest emblemLogo & left-chest digitizing
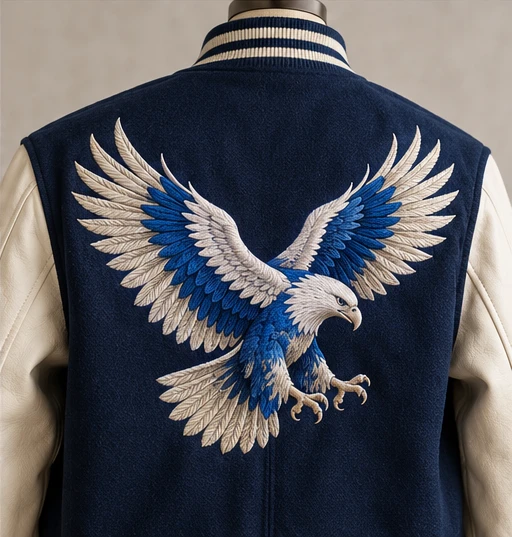
Statement eagle artworkJacket-back digitizing
Illustrative design concepts created to show visual styles and materials. These are not documented customer projects or physical production samples.
LET’S PLAN THE DETAILS
Have a project in mind?
Start with your artwork, finished size and intended application.