
THREADNEXA / ARTWORK GUIDES
Cap embroidery versus flat embroidery
Why a cap needs a different starting point from a polo or a jacket.
A different surface
A cap has curvature, seams and a framing system that differ from flat garments. Structured and unstructured caps also behave differently. Share the cap style when requesting the design.
The frame sets the working area
Usable sewing space depends on the frame and machine. Confirm dimensions with the production team rather than assuming the entire cap front is available.
Artwork needs room
Fine detail and small lettering can become difficult around curved surfaces and seams. A simpler version of the logo may produce a clearer result.
Test on the actual cap
A sample on the intended cap reveals details that a screen preview cannot. Check placement, alignment and overall finish before stitching a batch.
PUT THE GUIDE INTO PRACTICE
Your next step:
make the brief specific.
Collect the reference
Choose the approved artwork and identify the details that must stay. Add notes where the source is unclear.
Identify the application
Specify the product, material and finished dimensions. Keep separate placements and production methods clearly labeled.
Agree the review stage
Confirm how the design, proof or sample will be checked before the final production step.
RELATED PORTFOLIO / EMBROIDERY & DESIGN
Explore the portfolio.
Explore artwork, texture and finish through illustrative design concepts.
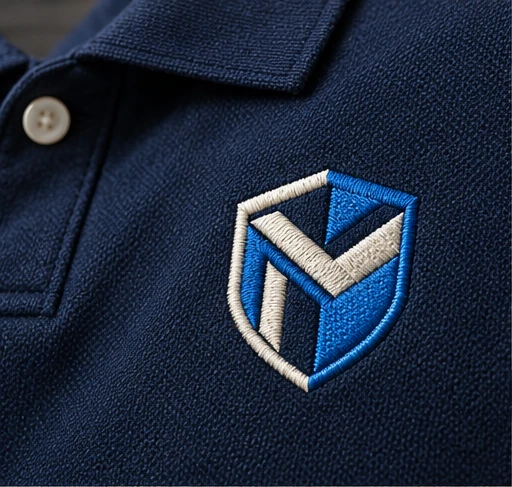
Corporate chest emblemLogo & left-chest digitizing
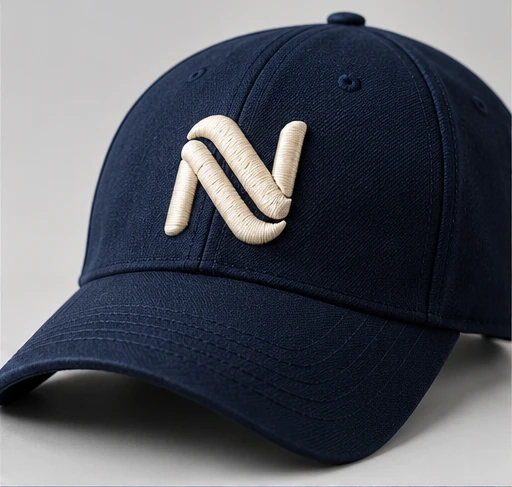
Raised cap monogramCap & 3D puff digitizing
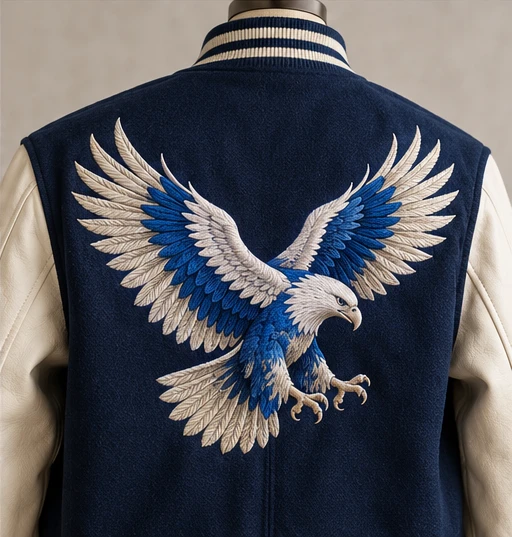
Statement eagle artworkJacket-back digitizing
Illustrative design concepts created to show visual styles and materials. These are not documented customer projects or physical production samples.
LET’S PLAN THE DETAILS
Have a project in mind?
Start with your artwork, finished size and intended application.