THREADNEXA / ARTWORK GUIDES
Preparing a logo for embroidery
A practical artwork checklist before your first digitizing request.
Start with the clearest original
Send the original vector file or the largest, clearest raster image available. A screenshot of a logo often hides small lettering and edge detail. If your source is incomplete, add another reference and confirm the wording separately.
Define the finished size
Embroidery is built at a physical size. A logo that works across a jacket back may be too detailed for a small chest placement. Specify width and height, along with the garment and desired placement.
Think in thread, not pixels
Gradients, tiny text and narrow gaps may need adaptation. Decide which parts are essential to the identity and where simplification is acceptable.
Confirm the production context
Include fabric type, machine format and a clear deadline. Ask the production team to review the design at its real dimensions and sew a sample before the full run.
PUT THE GUIDE INTO PRACTICE
Your next step:
make the brief specific.
Collect the reference
Choose the approved artwork and identify the details that must stay. Add notes where the source is unclear.
Identify the application
Specify the product, material and finished dimensions. Keep separate placements and production methods clearly labeled.
Agree the review stage
Confirm how the design, proof or sample will be checked before the final production step.
RELATED PORTFOLIO / EMBROIDERY & DESIGN
Explore the portfolio.
Explore artwork, texture and finish through illustrative design concepts.
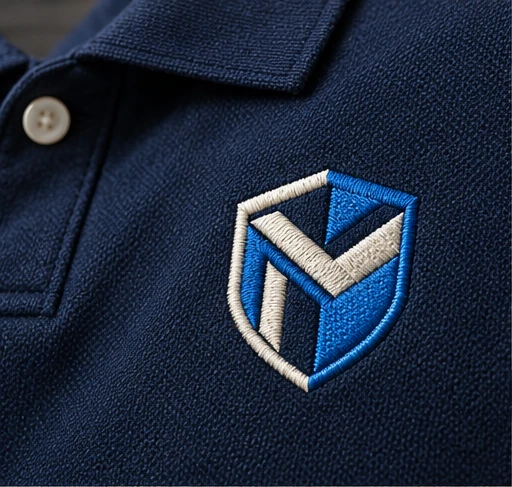
Corporate chest emblemLogo & left-chest digitizing
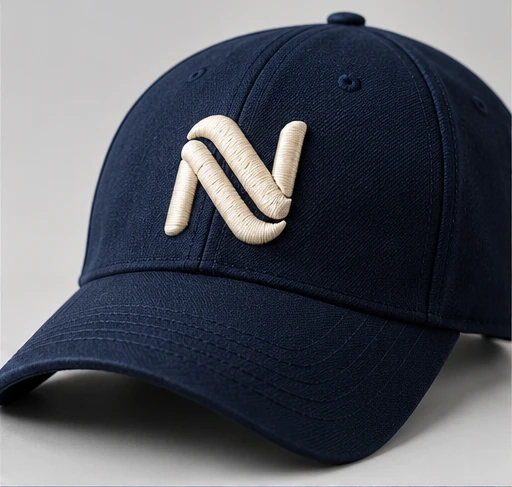
Raised cap monogramCap & 3D puff digitizing
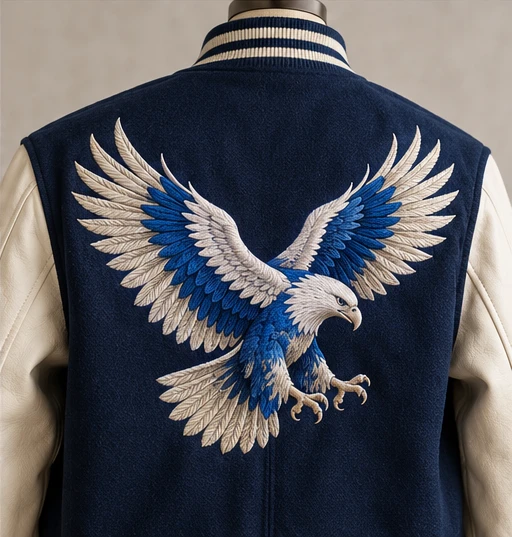
Statement eagle artworkJacket-back digitizing
Illustrative design concepts created to show visual styles and materials. These are not documented customer projects or physical production samples.
LET’S PLAN THE DETAILS
Have a project in mind?
Start with your artwork, finished size and intended application.